DIY Kratky Method
What is the Kratky DIY Method and How to I Get Started?
The Kratky Method is a hydroponic technique that enables plants to grow in a nutrient solution without the need for pumps, aerators or other active mechanisms. This makes it an ideal choice for those looking to create their own hydroponic system at home, as it requires minimal setup and maintenance.
To get started with Kratky Method Hydroponics, you’ll need:
Container
Kratky Method can be done in any watertight container that is big enough to accommodate the amount of water and plant you plan on growing.
Nutrient Solution
The Kratky method uses a nutrient solution instead of soil. You can buy pre-mixed solutions from your local garden center or create your own customized solution.

The picture above shows my Kratky system which is a simple 2-shelf unit in my office. I use mason jars with net pots and clay pebbles to grow lettuce, tomatoes, herbs and more.
Kratky Hydroponic Starter Products on Amazon
Advertisement
You can easily start from things you have on hand, such as empty food-grade glass jars and food containers with holes poked through them for net cups. The clay pebbles are hard to duplicate though I found, as they wick up moisture. When I got into Kratky a bit more, I bought some professional supplies and love them. These are the 4 things I would recommend should you wish to go that route as well.
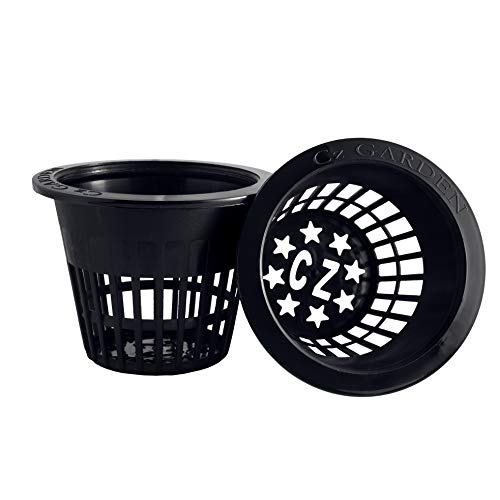
I have tried a few types of the net cups and hands-down the CZ brand are the best. They are thick and very well made.

This is the brand of clay pebbles I typically buy but I really think you could go with most any of them.

I like this brand because they do tend to stay more moist than the other brands I have tried.

This is only wishlist. I currently use tin foil to cover my jars. I plan on trying these in the the fall.
As an Amazon Associate I earn from qualifying purchases.

You can see the top shelf, which is "open" allowing air into the enclosure. I use cardboard to block the light which can get bright and hot during the day. The second shelf below the open one has plants, it is just closed at the time the ic was taken.
Once you have all of your materials gathered, it’s time to get started!
Fill Container with Nutrient Solution
Start by filling your container with an appropriate amount of nutrient solution, making sure that there is enough space for the plant and its roots once it's placed in the container.
Prepare Medium in Net Pot
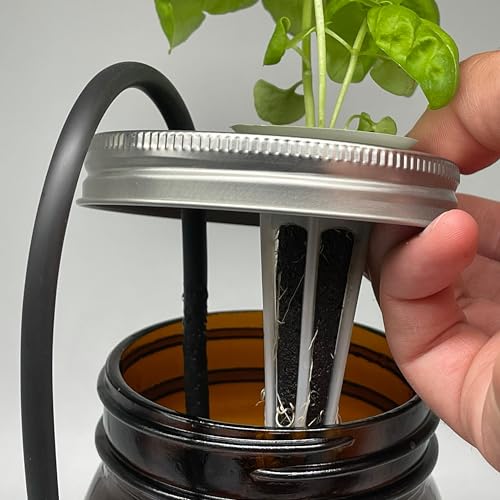
Add clay pebbles or other medium to your net pot or otehr container with holes for roots to grow downward. The net cup or container should sit in the nutrient solution so the roots will touch.
Place Your Seedling or Plant
I use rockwool to grow seedlings and that works well to start seedlings in the container. Place the plant in the center of the container, ensuring that it's securely in place and nestled into the growing medium. The rockwool should reach the nutrient solution so is can "wick" moisture to teh roots.
Monitor Nutrient Solution Level and Roots
Once the Kratky Method Hydroponics system is established, all you have to do is monitor your plant’s progress, top off the nutrient solution when needed, and check the roots. You want bright white roots, which indicate. a healthy plant.
With Kratky Method Hydroponics, you can easily create a hydroponic garden within minutes that doesn’t require any complicated equipment or maintenance – just a few simple steps and you’ll be able to reap the rewards of growing your own plants in no time.
If you’re looking for a simpler way to get started with hydroponics, Kratky Method Hydroponics is an ideal choice! With minimal setup and maintenance, it’s easy to create a thriving hydroponic garden that will yield healthy and delicious plants. So why wait? Get started today!


Advertisement